

This is a mock rock. Students observed various properties and recorded them in their journals.

We used a chart to trace the outline of the shapes


We became geologists and broke apart the mock rocks into minerals and rocks. We used our "picks" to see how many parts our mock rocks could be broken into. This helped us understand rocks are made up of minerals. (Rocks are made of many ingredients, minerals can not be broken down any further). Students were able to identify gravel, oyster shells, and "
grey matter"
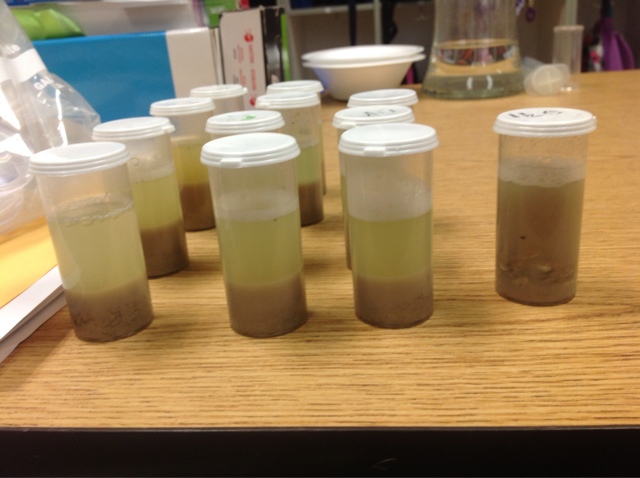
We discussed strategies for breaking down the "grey matter". By adding water and shaking the vials, we hope to see some layering to help us identify what was in the mixture.

Our next step was to see if there is anything that dissolved in the water. We used Petri dishes to allow the water to evaporate over the weekend. This was our result. We used a key to see what each of the various crystals represented to create a more in depth "recipe" for our mock rocks.


Stay tuned for our next investigation!
Investigation #2: scratch test
Before we began testing our minerals we did a practice test using a fingernail, paper clip, chalk and a tile. We scratched the chalk and tile with a fingernail first. Students could see the nail did toning to the tile and the chalk left white residue on the fingernail. Since the chalk left a residue on the nail, the nail was softer than the nail. We then did the same thing by scratching the chalk with the paperclip to see the depth of the scratch. The tile was a bit more difficult. It is harder to see the scratches of the paperclip on the tile. There was a darker mark on the tile, which meant the tile was actually harder than the paperclip. Once we got the procedure down, it was off to working with the minerals.

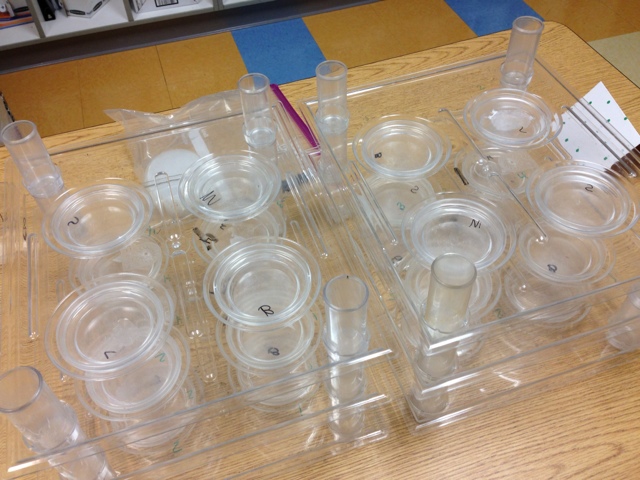
This is the set up for working with our minerals. There were 4 mystery minerals that students had to observe the properties and then begin their scratch tests. Once they had completed the scratch test, they used moh's hardness scale to figure out what the minerals were.
Investigation 3: Calcite Quest

This is the calcite in vinegar. There were bubbles all around the calcite, as well as bubble floating to the surface, and others sticking to the sides. It looked like sprite.

Then the class put basalt, sandstone, limestone, and marble in the vinegar to test if there was any calcite based on the reactions.
Then after sitting overnight, the students poured out their liquid into evaporating dishes to see what would be left after the liquid evaporated.

We talked about controls and what the vinegar may leave behind when it evaporated.
One dish has the calcite, the other has plain vinegar .
When everything evaporates, we will compare the controls to the 4 different rocks to see if calcite exists.

Here you can see the plain vinegar and the calcite once evaporated. Students then looked for calcite in the other rocks.

It was very obvious that there was calcite in the limestone.
No comments:
Post a Comment